Pos
So today I feel creative, so here as you see this is my new banner ....
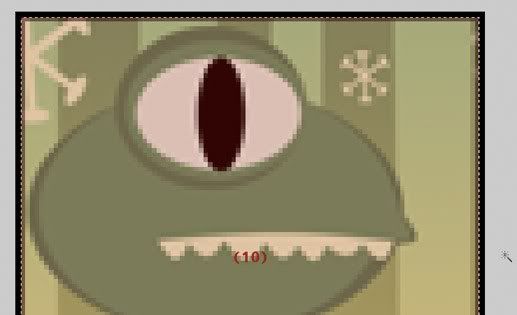
Look closely in the eye of extraterrestrial

jejejejejejejejeejejejej xDDDDDD
Sini ^____^
jejejejejejejejeejejejej xDDDDDD
Sini ^____^

(This really cute picture of me is created with vectors. ... In future installments, and if people want, I'll talk about it:))
So after waking up at 2 in the afternoon, eating Chinese food and watch the race from Alonso with my family, I made this small guide for whoever you want to learn to do this ...
MAKING AN EDGE AND NOT DIE IN THE ATTEMPT
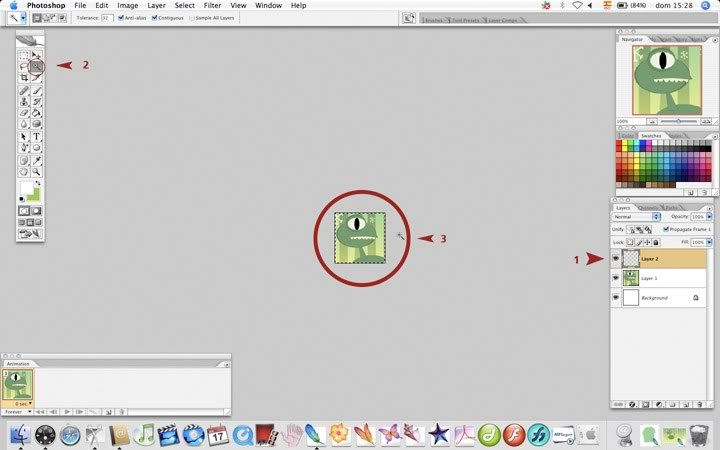
STEP 1 (click here to view large image)
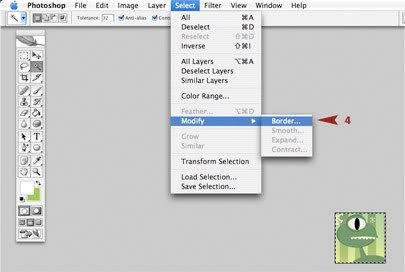
First you have to open the file where you want create the border. After you create a new layer (1) and in that layer, having selected the magic wand (2) , you click on the image to select all (3). Or, as fast-track is to press ctrl + A
With all selected, select the menu bar option Select (Select) -> Edit (Modify) -> Edge (Border) (4)
You will
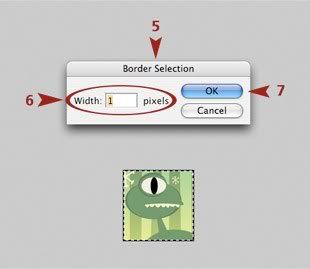
a small window will ask for the border thickness (5) . Normally you get it for very fine edge and set you have to select 1 pixel thick (6) . If you want the edge with a greater thickness increases the pixels according to your desire. After choosing 1 as the thickness, gives OK (7)
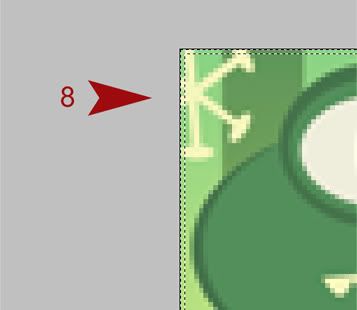
it may seem at first glance that nothing has changed the section that you have, if you get the picture you will see that now the selection is twofold (8) . There already is making you the edge.
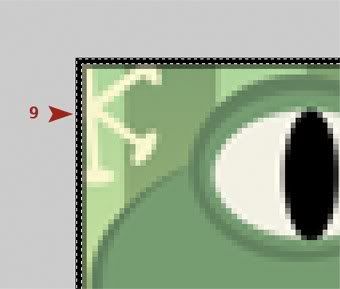
Now let's fill the border. First choose the color you want for the border. Then select the paint bucket and filled the selection (9)
Now, that is well defined edge, we need to remove the area that is blurred. To this end, de-select the edge you've created and then again with the magic wand , please click in the center to select inner edge (10)
RECALLS : You always have to perform this action in the same layer where you want to have the edge
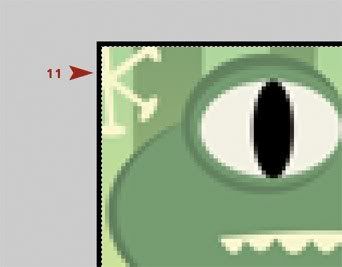
selected with the interior, all you have to do it is now clear what is inside that area. Or with the eraser tool. Or more easily with the key delete (which is above Intro), press it repeatedly until you see that little edge disappears blur (11)
And finally, de- select all. And you have done your edge. I recommend you put the layer above all and to put a name to differentiate them from others.
END!
Published: With Samauri by Teach me what to lf-cut! SNY
^____^